ERA (Electronic Remittance Advice) - Patient
Billing > Electronic Remittance Advice - Patient
This selection will only be activated and visible in the Billing menu for those centers that are contracted with both HST Practice Management and Waystar for this function. (If other clearinghouses can produce an 835 patient ERA in the correct format, then it may be made available for Manual Import as well.)
Begin by selecting  . (Because the ERA file is based upon the Z-Pay Posting Report, only one file will be available each day.) The accounts on the imported file will populate the Payment Detail Information grid.
- Accounts with no discrepancies will be lavender.
- Accounts for which the payment, if posted, will create a credit balance will be pink.
- Accounts which the system cannot identify will be yellow.
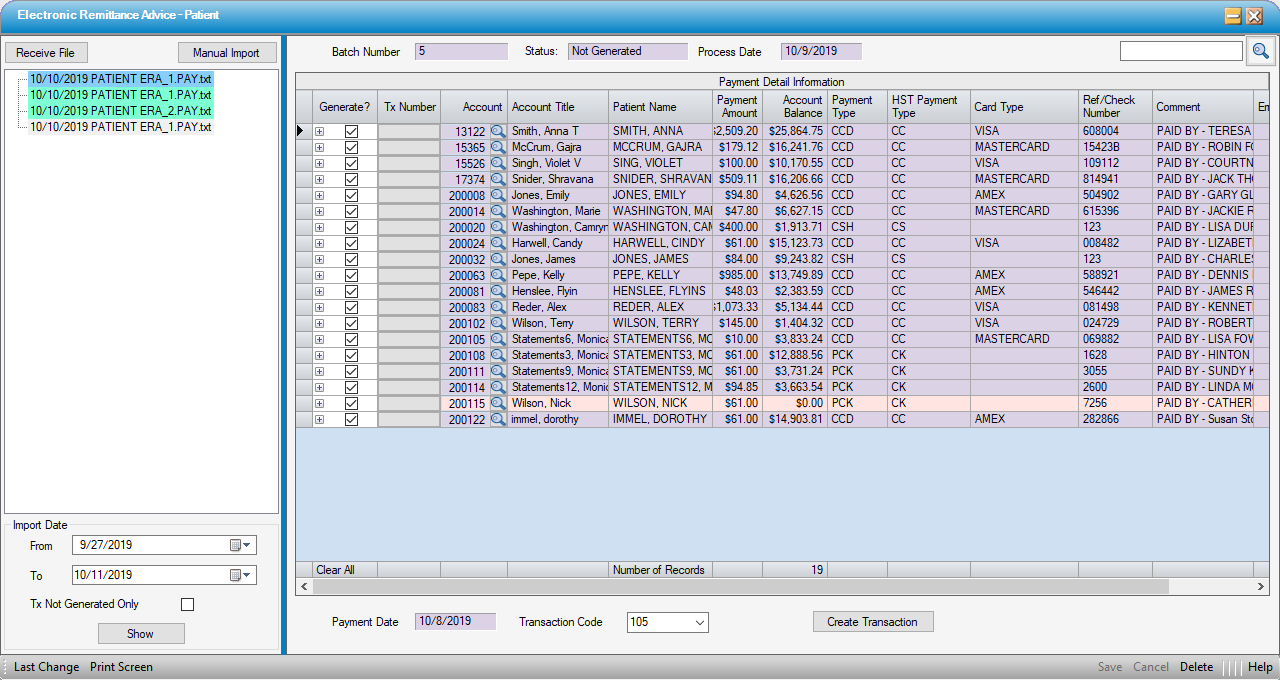
Check boxes in the Generate? column will default as checked unless the account cannot be identified (highlighted in yellow), in which case the box will not be checked. To exclude a transaction (such as the one that would create a credit balance in the example above), simply uncheck this box.

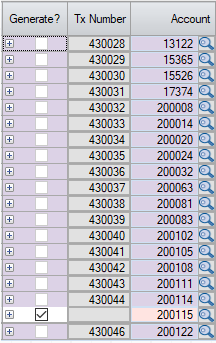
For accounts that cannot be identified, select the magnifying glass 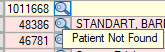 to search for the account by Last Name, First Name, Patient ID, Patient Account, Additional ID 1, or Resp Party Last Name. If the account is found, select from the Patient Look Up grid and check the box to generate a transaction. If not, leave the box unchecked to research further. The color for this transaction will remain green in the tree view to indicate that transactions were not created for all payments.
Select save if any changes have been made in the Generate? column and then select the Create Transaction ![]() button.
button.
Because patient payments are individual payments per account, the system will generate an individual transaction for each payment. For accounts with multiple visits, the system will apply the payment to the oldest visit with a self-pay balance and then apply sequentially by age until the full payment has been applied. If there is no self pay balance on the account, the system will apply the entire payment to the most recent visit.
To move the payment to a different visit (perhaps a visit with a zero balance due to a bad debt write-off), click on the Tx Number. This is a button that will open that transaction in the Payments and Adjustments form.
The correct visit can then be selected in the Payments and Adjustments form by clicking the Apply Account button. Select the "correct" visit to apply the payment against and enter the payment. Re-open the "incorrect" visit and click the Delete Account button. This will remove the transaction from the incorrect visit.
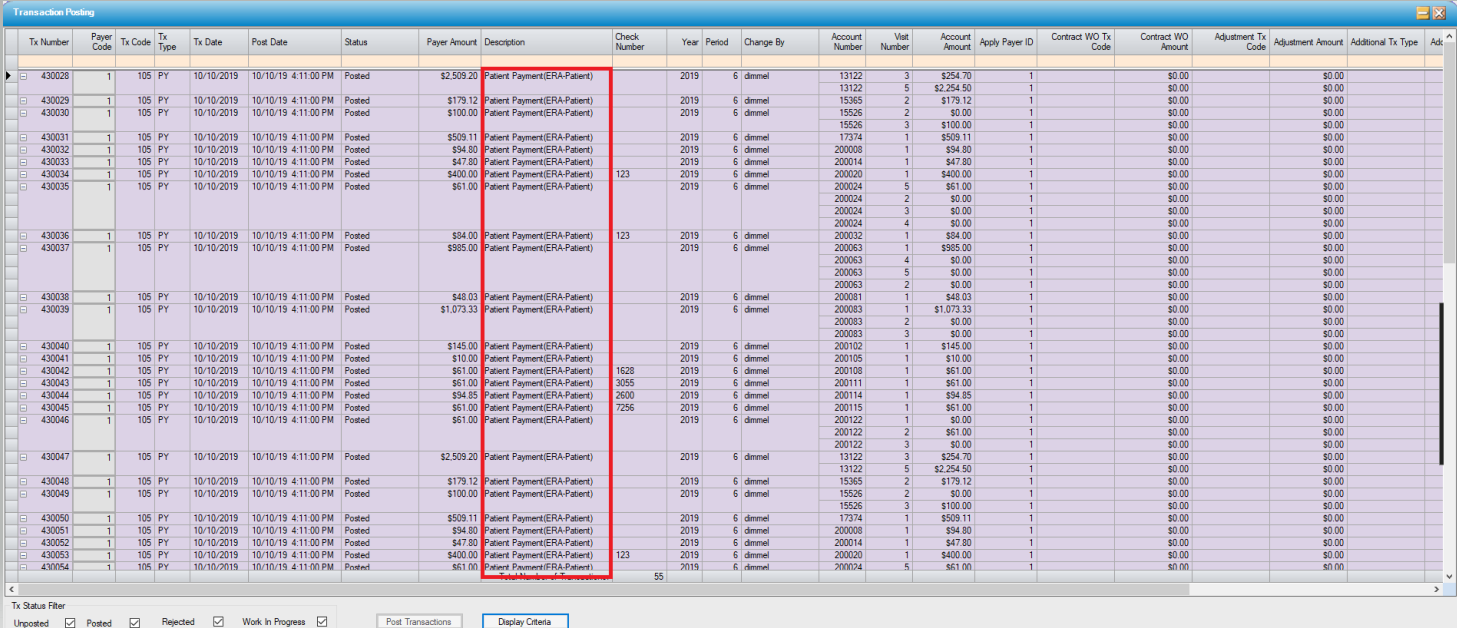
Transactions can be reviewed, edited, and posted individually via Payments and Adjustments (depending upon user permissions) or posted in bulk via Transaction Posting.